
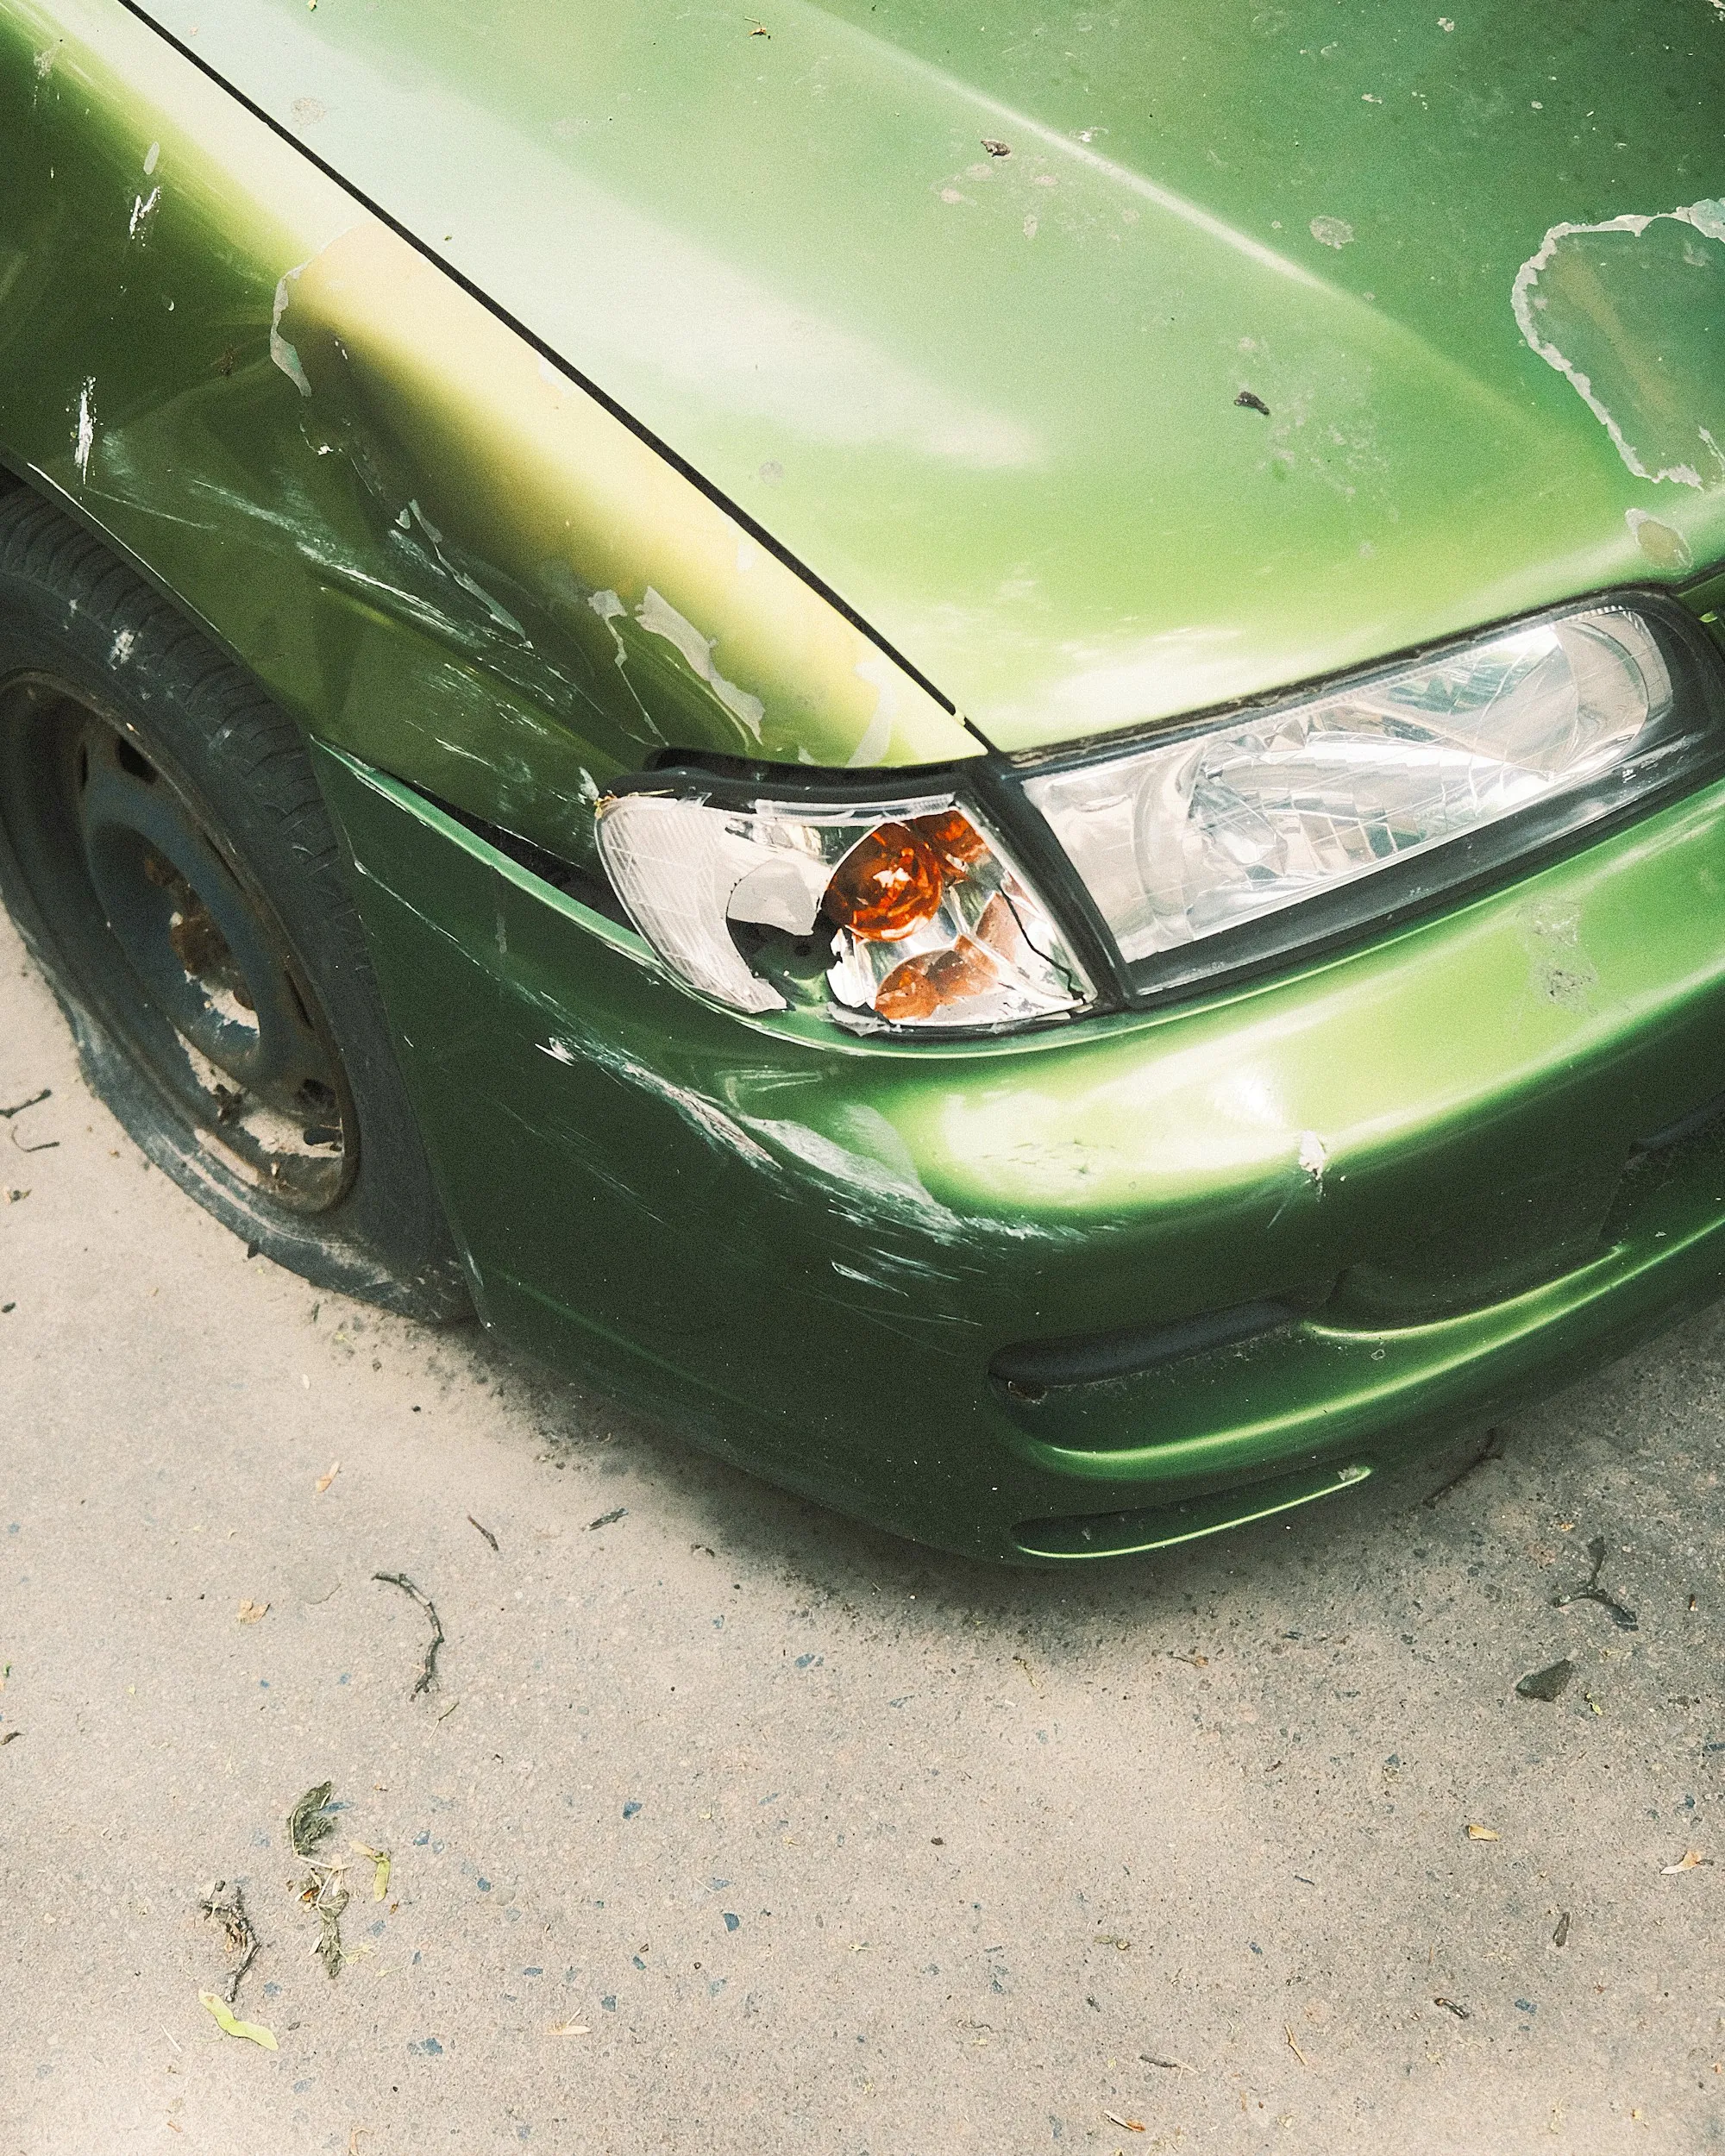
Bumper covers and parts
Bumper Repair & Replacement in Parker, From Cover to Sensors
A backing misjudgment in a Plano garage or a nudge at a light on Murphy Road can leave more behind the bumper than on it.
Describe the bumper damage — (000) 000-0000What Sits Behind the Bumper Cover
From the curb a bumper looks like one painted part. Hidden behind it are energy absorbers, a steel or aluminum bar, an array of brackets and, on most recent models, parking and radar sensors. Even a modest impact can split a mount or knock a sensor out of position while the outer cover looks nearly untouched. In our Parker shop, the cover is removed by hand so we can see everything behind it, and you hear what we find before any part is ordered. Scuffs and small cracks in plastic covers can often be repaired and refinished. When a cover or bracket is better replaced, we explain factory part options and how they affect fit. After reassembly, sensors are tested, gaps are checked and the car is cleaned before you see it.
The Bumper Work We Take Care Of
Bumper repairs vary widely. Here is what we look after, from the visible cover to the parts behind it.
Cover lifted off by hand
Fasteners and clips are released carefully so the cover comes away without new stress cracks or broken tabs.
Everything behind it inspected
Absorbers, brackets and the reinforcement bar are examined for cracks, crushing or movement.
Plastic welded and reshaped
Tears and cracks in plastic covers are repaired from behind and reshaped with gentle heat where the material allows.
Scuffs refinished to match
Scraped corners are smoothed, primed and painted to your color, then blended into the cover.
Factory covers when replacement is wiser
If repair would compromise the shape or fit, we discuss factory replacement covers and grilles before ordering.
Brackets and absorbers renewed
Cracked mounts and crushed foam are renewed so the bumper rests where it should and performs as designed.
Sensors tested and aimed
Parking sensors and any radar behind the bumper are checked, and calibrated wherever the maker's procedure requires.
Fit checked edge to edge
Gaps to the fenders, lamps and hood are adjusted until they're even, then reviewed with you at pickup.
From First Look to a Bumper That Fits
- I
Inspect behind the cover
We photograph the bumper and then remove the cover by hand to see what lies beneath. Every damaged part is noted, including any sensor or bracket. You receive a written estimate with repair and replacement options laid out side by side. Factory part availability is discussed at this stage.
- II
Repair, renew and refinish
Cracks are welded and reshaped, or the cover is replaced if that is the better choice. Brackets and absorbers are renewed as needed. Next the cover is primed, painted and blended into the car's color. Even though the work is outside the cabin, the seats and carpets stay covered.
- III
Refit, test and walk through
The bumper is mounted and adjusted until the gaps are even. Sensors are tested and calibrated if required, and a short drive confirms no warning lights return. It's then cleaned inside and out. When you collect the car, we show you the bumper, the parts we replaced and the sensor results.
Why Our Bumper Repairs Look Right Up Close
We look beyond the cover
A neat outer cover over a broken bracket won't sit correctly for long. Checking the parts behind it is what makes the repair last.
Repair and replacement compared openly
Plastic covers can often be repaired well. When replacement is the better answer, we tell you why and which parts we'd use.
Sensors are confirmed, not assumed
Parking aids and driver-assistance features depend on correct placement. We test them before the car is handed back.
Has the Bumper Lost Its Fit?
Let us know how it happened and whether a warning light has come on since. We'll describe what probably sits damaged out of sight and how we'd go about it.
(000) 000-0000 — talk about your bumper